Why Hanok Joints Hold: A Lesson in Mortise-and-Tenon
원문: 한옥 셀프 리모델링 기록 #19 (기둥동바리 · 지붕기와철거 · 대문칸하인방 설치)
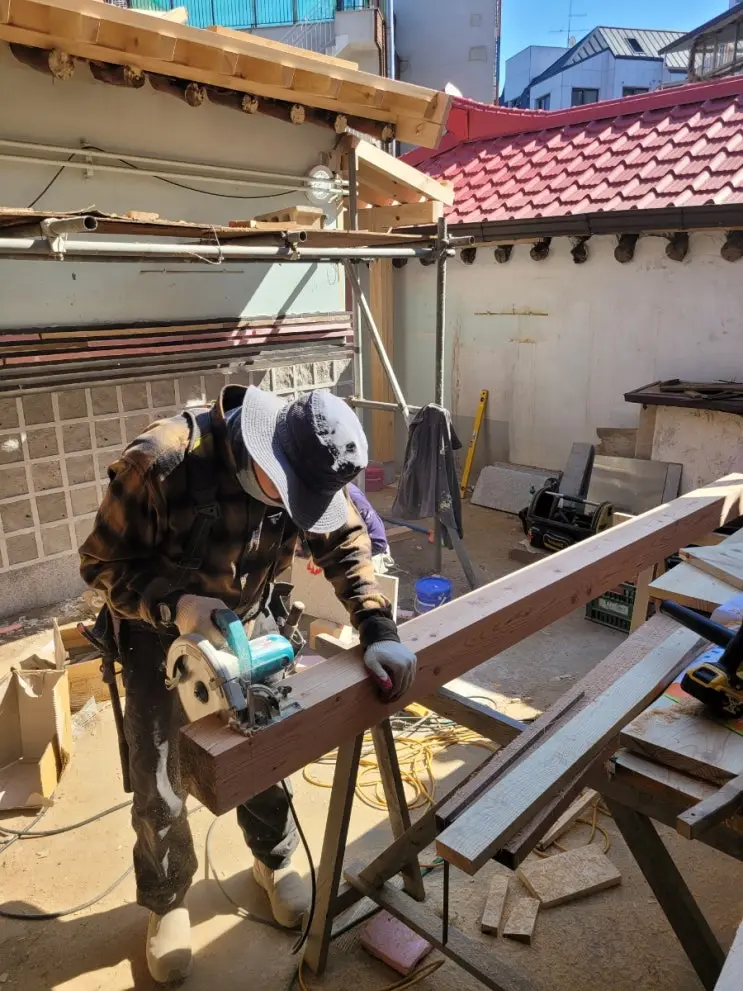
Day twenty. I was away for the day, so this entry is compiled from my brother’s site notes — the work didn’t slow down for one missing pair of hands.
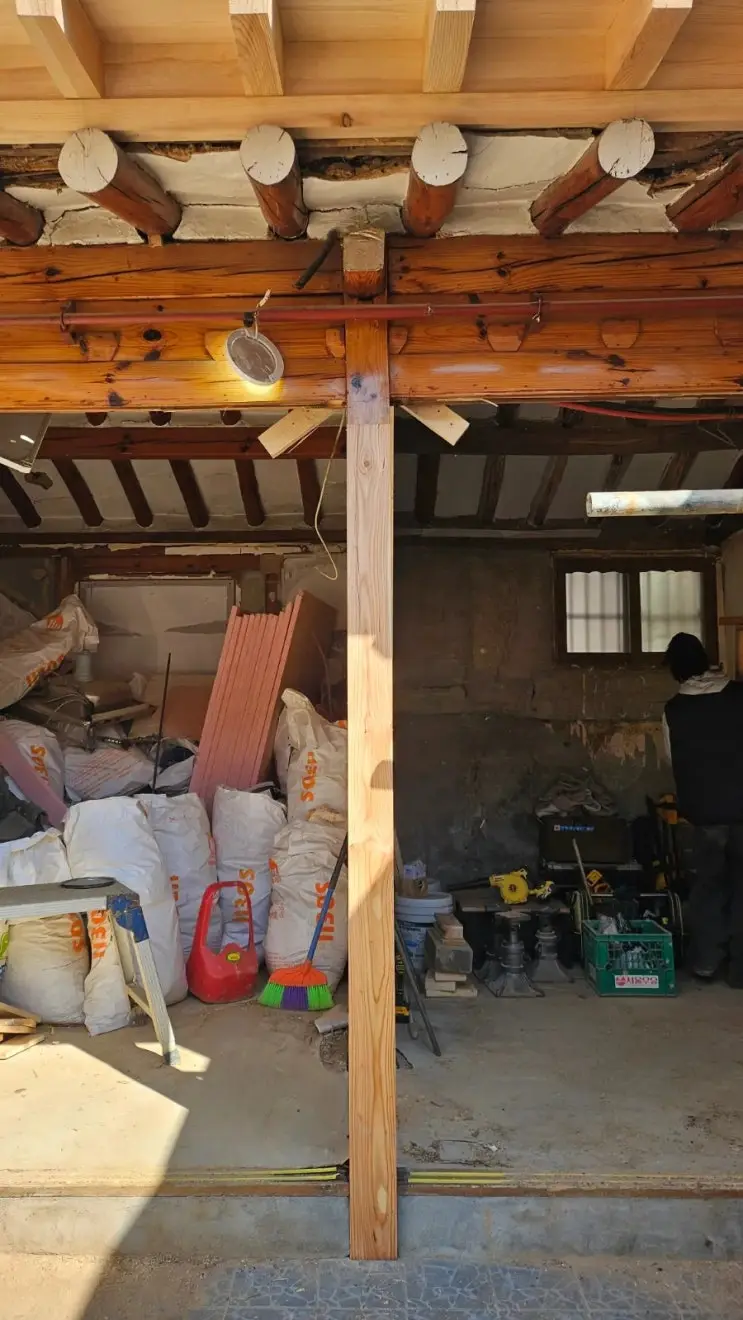
Second post shored. The dongbari work reached the second aging post — the outer one — using three bottle jacks and diagonal bracing to transfer the load gradually. Both of the house’s tired posts now stand relieved.
Two hours of hand-planing. The larch boards destined for the exterior finish got about two hours under the hand plane — surfaces evened, rough grain removed, ready for stain and installation. Larch is handsome and hard; the plane earns every stroke.
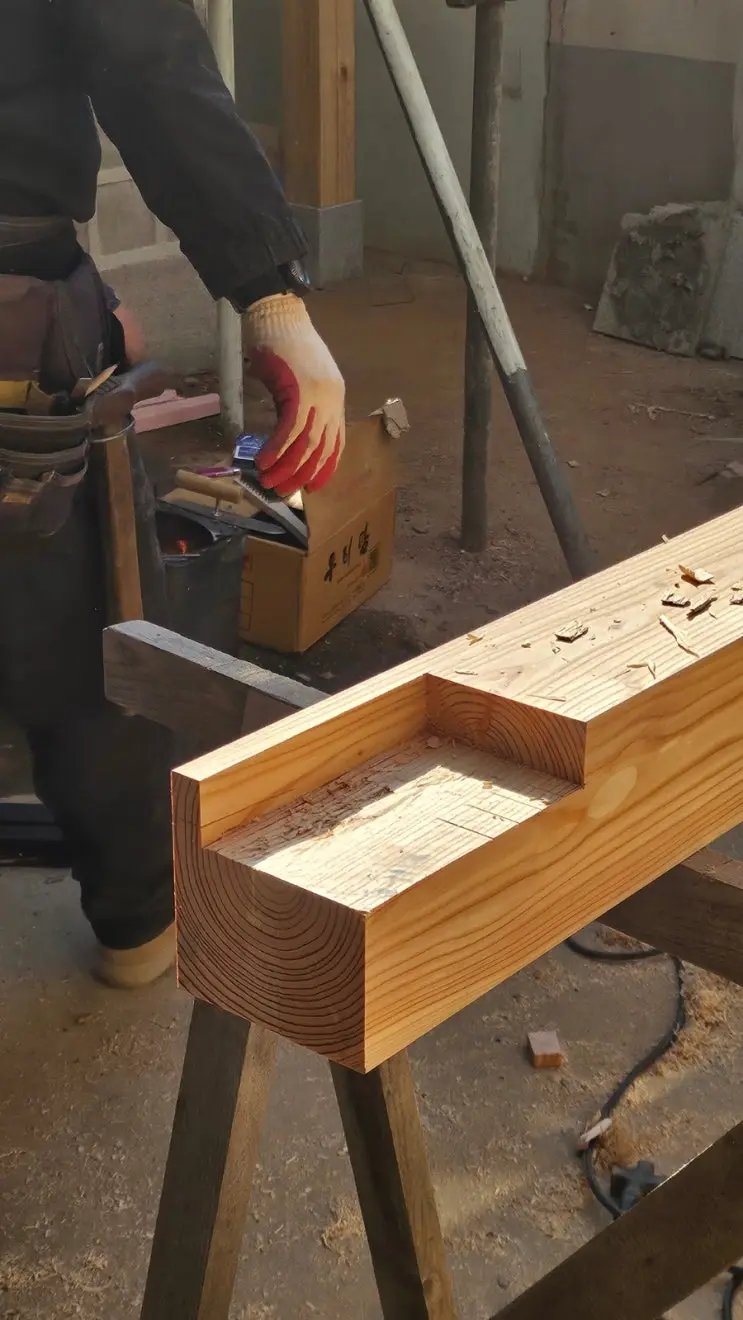
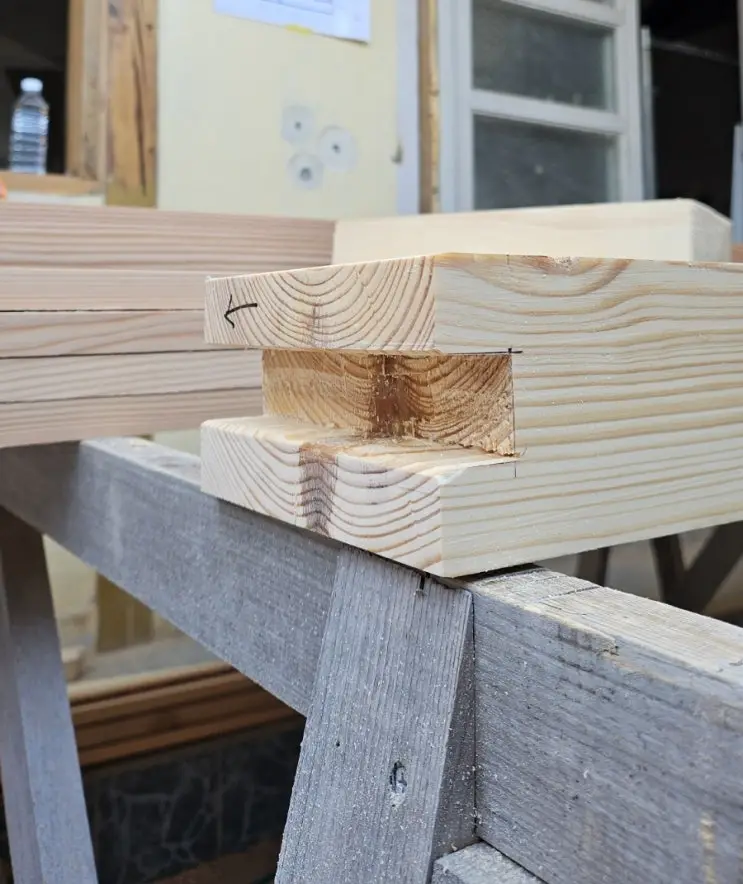
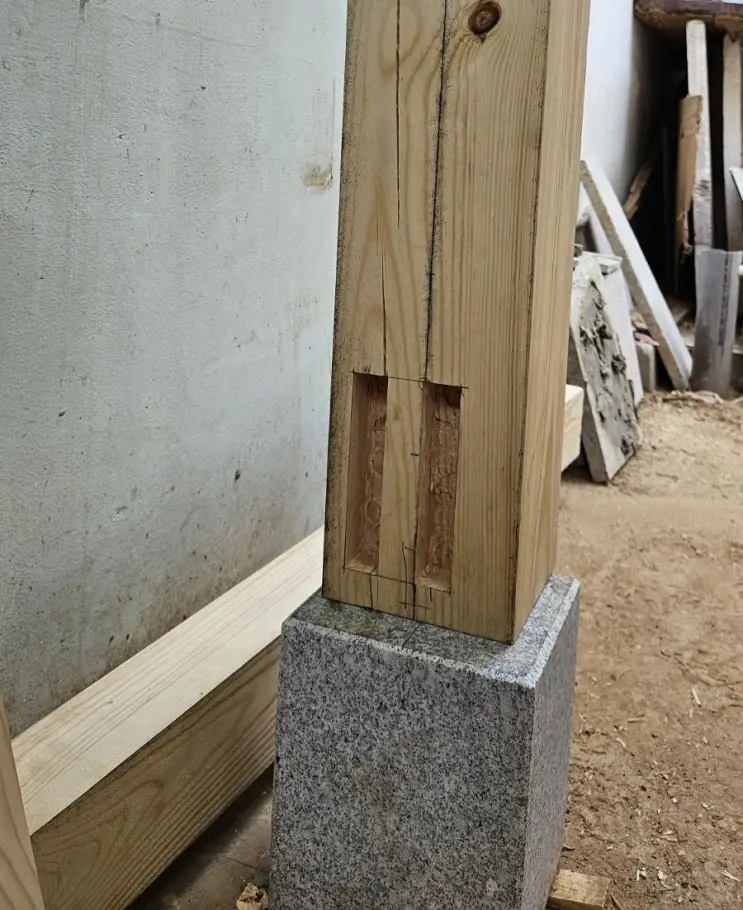
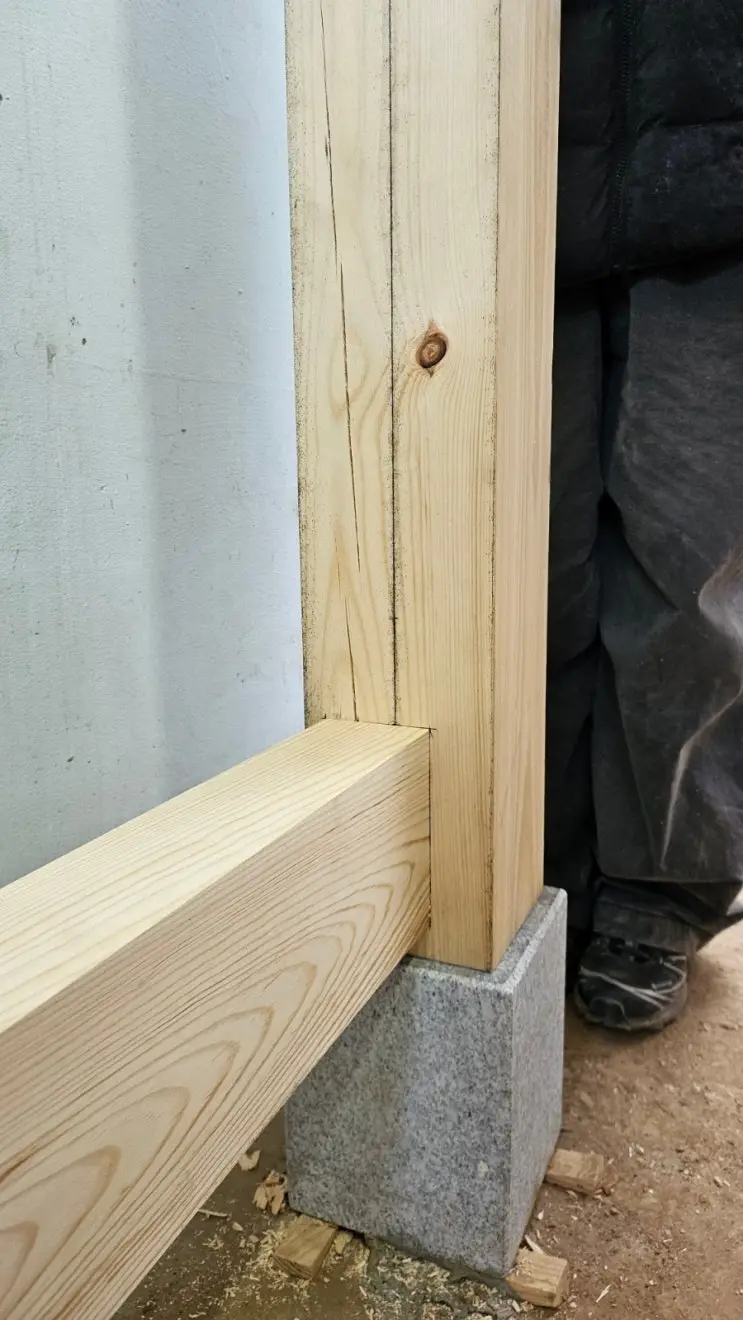
The joint that explains everything. The gate bay received its hainbang — the lower rail that ties the posts together. Watching it fitted was a small education: no nails driven through, but a carved socket-and-tongue joint, timber gripping timber. Once you see it, the structural logic of hanok — why these frames flex through earthquakes and centuries — is self-evident. The geometry does the work.
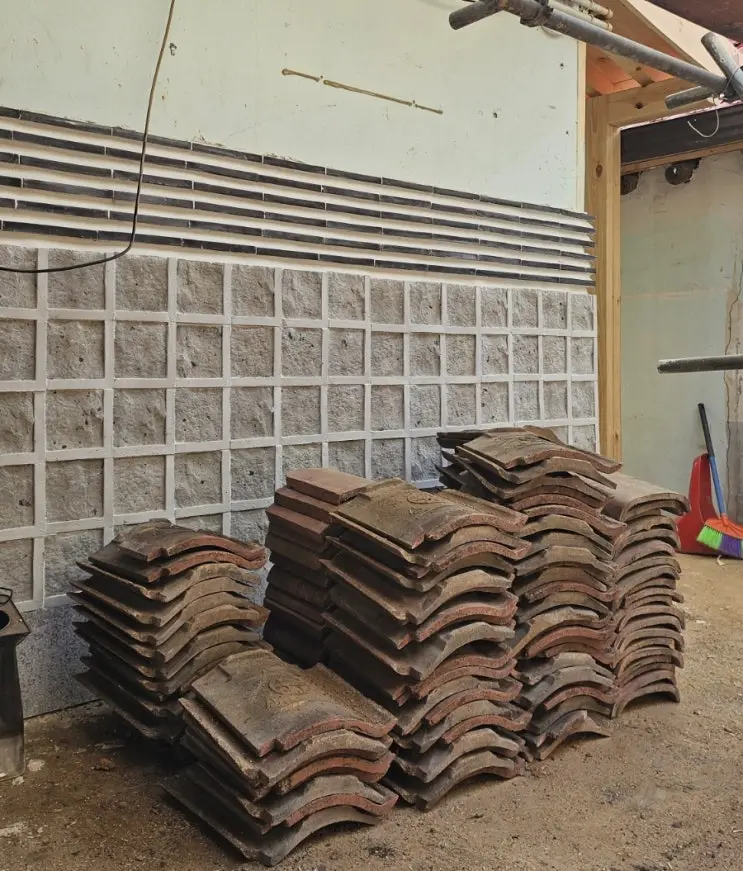
Pointing, in both directions. On the facade, some early sagoseok pointing needed removing — and cured mortar fought back hard enough that we’ve added cement remover to the shopping list. Meanwhile the wapyeon band got its white-cement pointing, which visually thickens each tile fragment and locks it in place. One material, two opposite jobs.
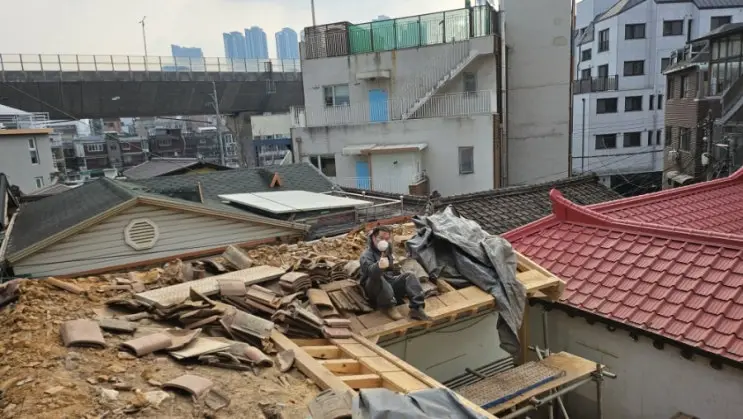
250 tiles, and reinforcements. Roof stripping continued — about 250 tiles down today, a third of the roof now clear. The work is punishing: tiles are heavier than they look, their edges scrape hands raw, and the volume is relentless. So we did something new: hired a part-time helper through Karrot (the neighborhood second-hand app, which also lists day labor). Self-renovation doesn’t mean refusing help — it means knowing which hours are worth buying.
Originally logged in Korean on March 9, 2026 — read the original. Translated and edited by the brothers who did the work.